User Guide
Content
These instructions provide an overview on how to make PDF documents accessible with PAVE.
Navigation Within PAVE
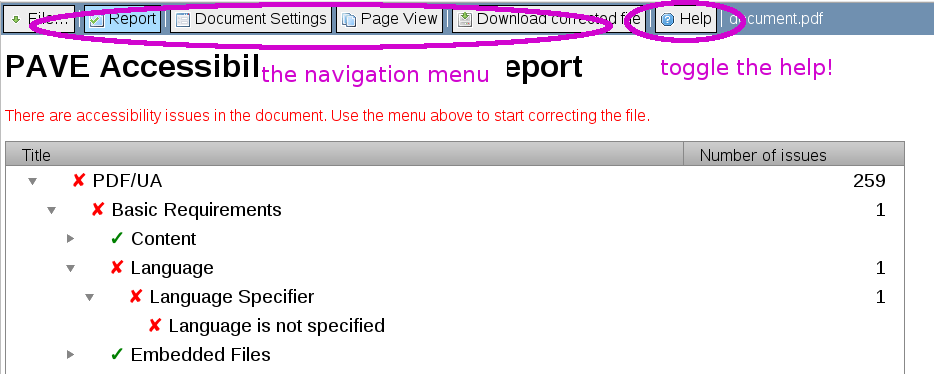
To switch between different pages within PAVE, you can use the navigation bar that is placed at the top of the page.
Tip: To get help directly for a page, you can always toggle the button!

Step 1 - The Report
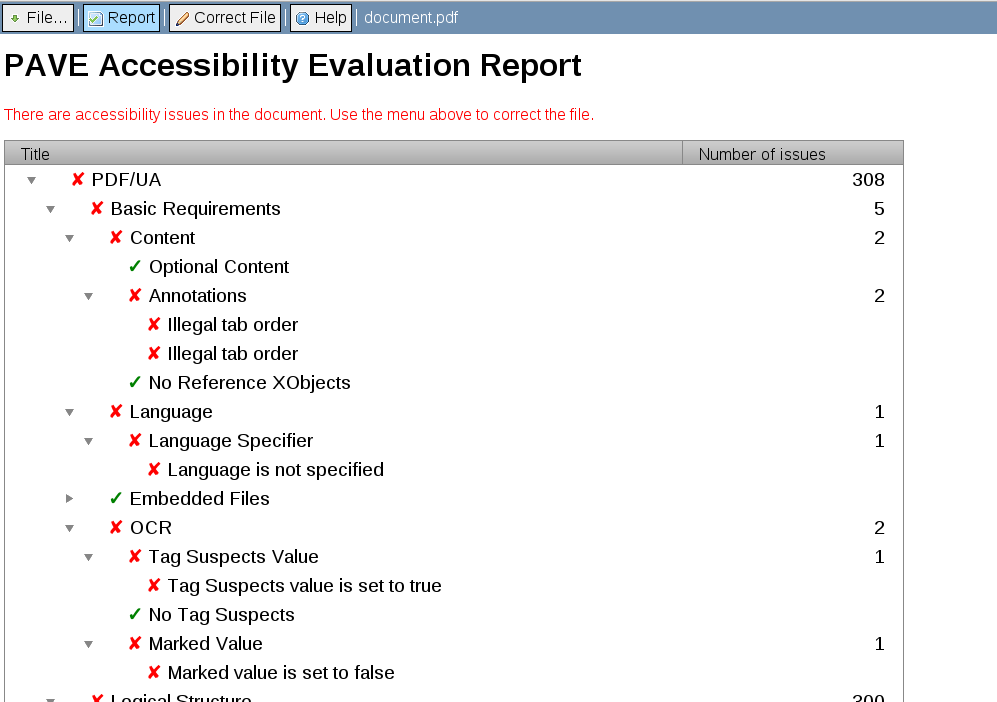
After you uploaded the PDF document that you want to correct, you see the result of the accessibility evaluation: the report. The report always shows the current state of the PDF, meaning that during the correction process you can always go back to the report and see what errors still exist.

Step 2 - Correcting the File
When you decide to correct the PDF file, you can do so by clicking on the navigation button . Note that there are two new navigation possibilities now: and .
What does it take for a PDF document to be accessible?
For a PDF document to be accessible, there are basically two requirements:
- The metadata must be correct and complete.
- The document must be completely tagged.
Step 2.1 - Correcting Metadata (Document Settings)
To check and correct the metadata of the PDF document, use the navigation pane to go to the .
Note: Author, Subject and Keywords are optional.
Note: The metadata should not only be complete, but also correct. So, if the PDF document already contains all required metadata, you should still make sure that it is correct!
Step 2.2 - Tagging a PDF Document (Page View)
Tagging a PDF means that every content element (e.g., titles, paragraphs, images, ...) is assigned to a certain tag type, and a position within the reading order. The tag type determines what kind of element it is (e.g., an image). The reading order determines the order in which software like screen readers present the content to the user.
In PAVE, you tag the PDF in the .
Note: PAVE supports two tagging modes: simple and expert. You can switch between the modes at any time during the correction process.
Note: If you don't consider yourself an expert with the PDF file format (especially concerning tagged PDF), you are strongly advised to use the simple mode.

Step 2.2.1 - Adding Tags
The PDF document is shown in the center of the page. You can add tags by selecting elements on the page with your mouse. By drawing rectangles, you can easily select bigger elements at once, for example an entire paragraph.
Note: When you keep the Shift key pressed, you can select multiple elements.
When you release the mouse button (or the shift key), you need to enter information about the selected element, i.e., its type. In the following we explain the meaning of the most common tag types:
- Paragraph: Normal text that appears in a document.
- Heading #: A title, where the lower the number the more important the heading. For example, the title of an entire document is a "Heading 1", the chapters would be "Heading 2", and so on.
- Artifact: Elements that are not relevant for the content, such as headers and footers, page numbers, etc. can be tagged as Artifacts. These elements are ignored by assistive technology.
- Figure: An image. Since images can not be read out loud, you must specify an alternative text (Alt-Text) that will be read out loud by screen readers. Note that images that are merely decorative (i.e., they shouldn't be read to a user of assistive technology), should be tagged as Artifacts, not as Figures!
Step 2.2.2 - Using Wizards to Tag Complex Elements
More complex elements such as lists, tables, and figures with a caption can be tagged with the help of wizards. These wizards guide you through the process of tagging the elements.

Step 2.2.3 - Editing / Deleting Tags
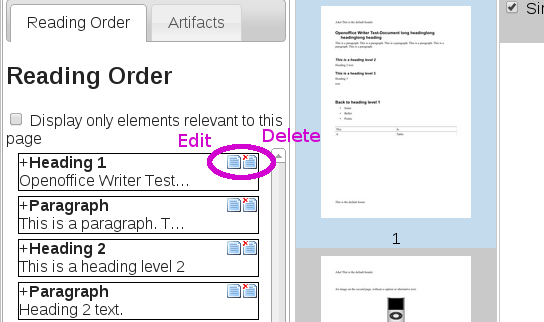
If you want to edit or delete a tag, you can do so with the respective buttons in the reading order.
Note: Artifacts and tags that occur in the reading order are stored in separate tabs.
As tags can be nested, you can show the children of a tag by double clicking a certain tag.

Step 2.2.4 - Sorting Tags to Create the Right Reading Order
Once you tagged all elements, you need to make sure that the reading order is correct. If there is an element that is not at the right position in the reading order, you can put it at the right position using drag and drop.
Step 3 - Downloading the Corrected File
When you corrected the metadata and finished the tagging process, you are ready to download the accessible PDF document. You can do so by navigating to "Download Corrected File".
Note: Make sure that there are no more errors contained in the document by checking the status on the Download page.
Note: Based on your tags and the created reading order, you can add outlines (i.e., table of contents) to the PDF. On the download page you can decide if you want to keep the outlines that were stored in the PDF document you uploaded, or create outlines based on the headings that you tagged.
Congratulations, you have created an accessible PDF document!

